
Last updated August 26, 2026
Free on-site gate assessment - hinges, posts, and your LiftMaster or Nice gate operator checked before anything is quoted
The assessment is free and the quote is the invoice.
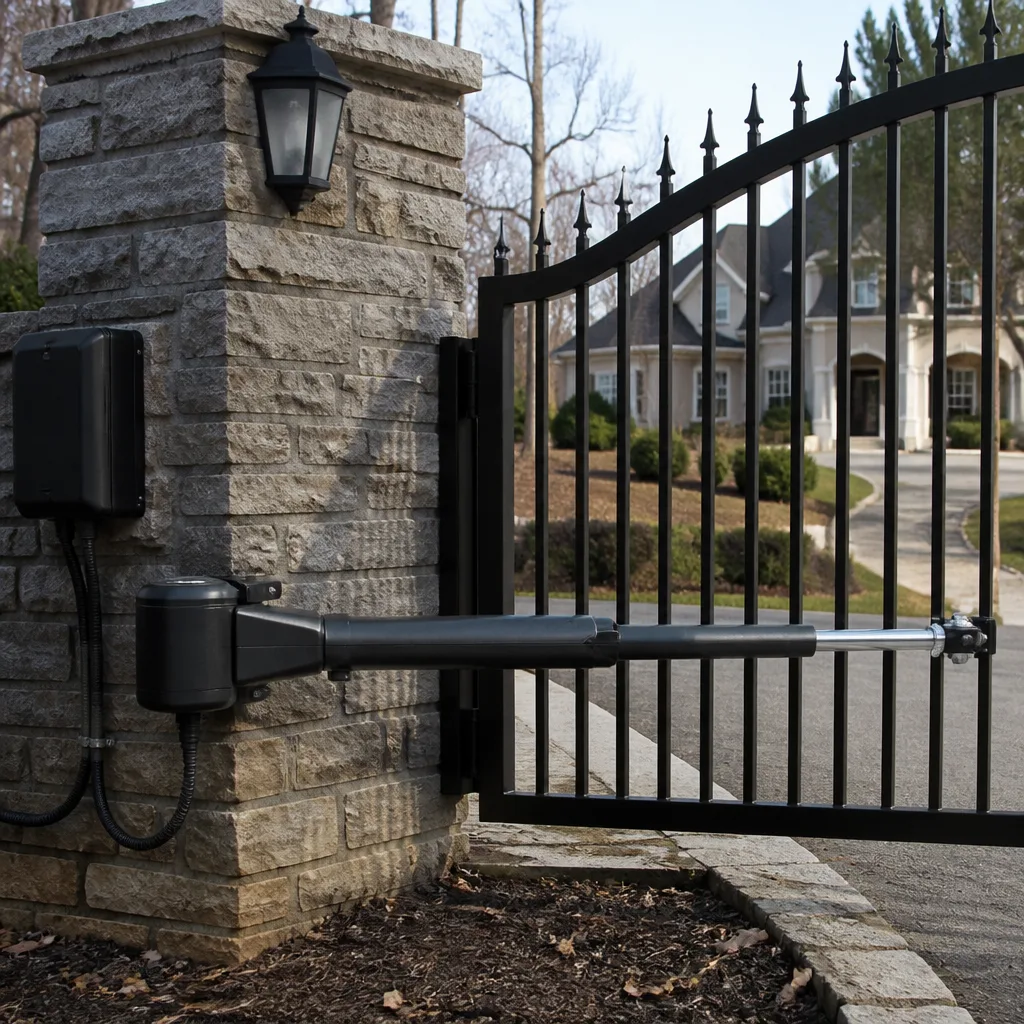
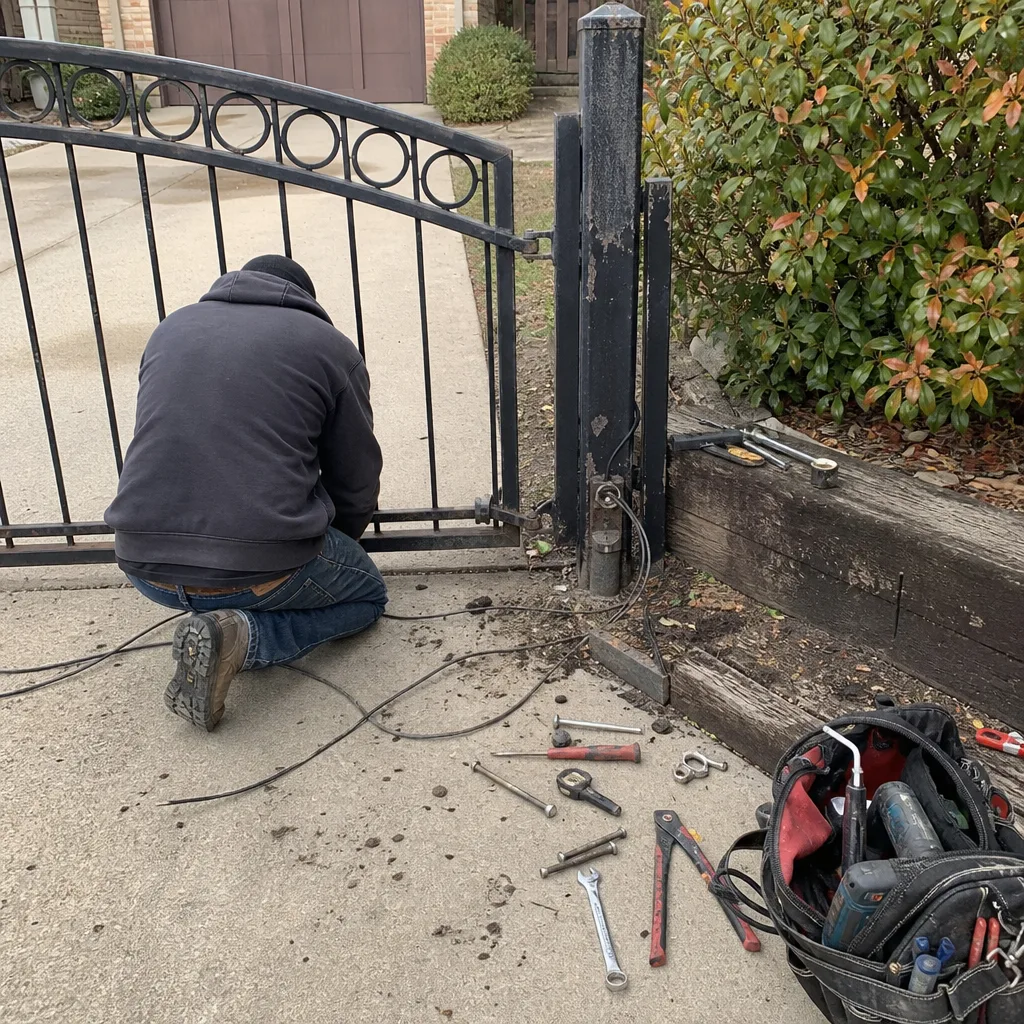 Before
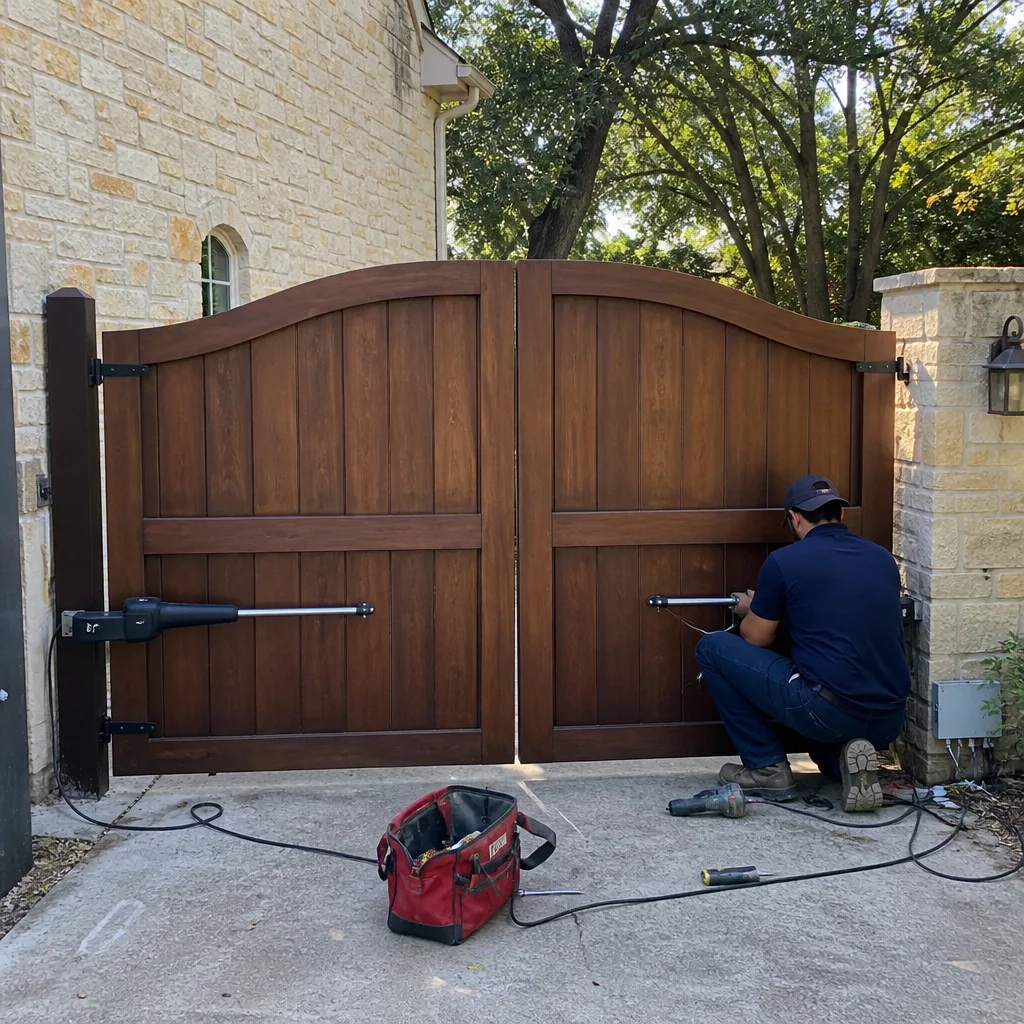 After
After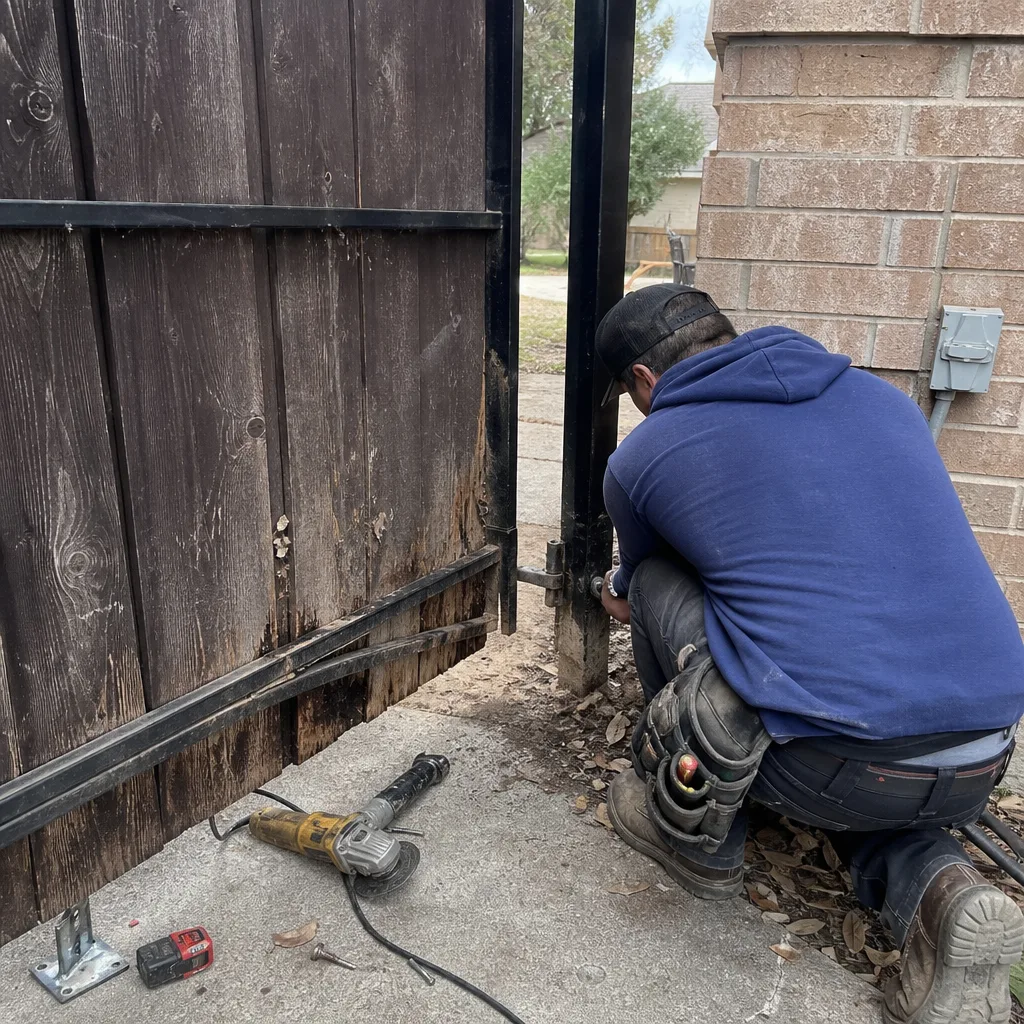 Before
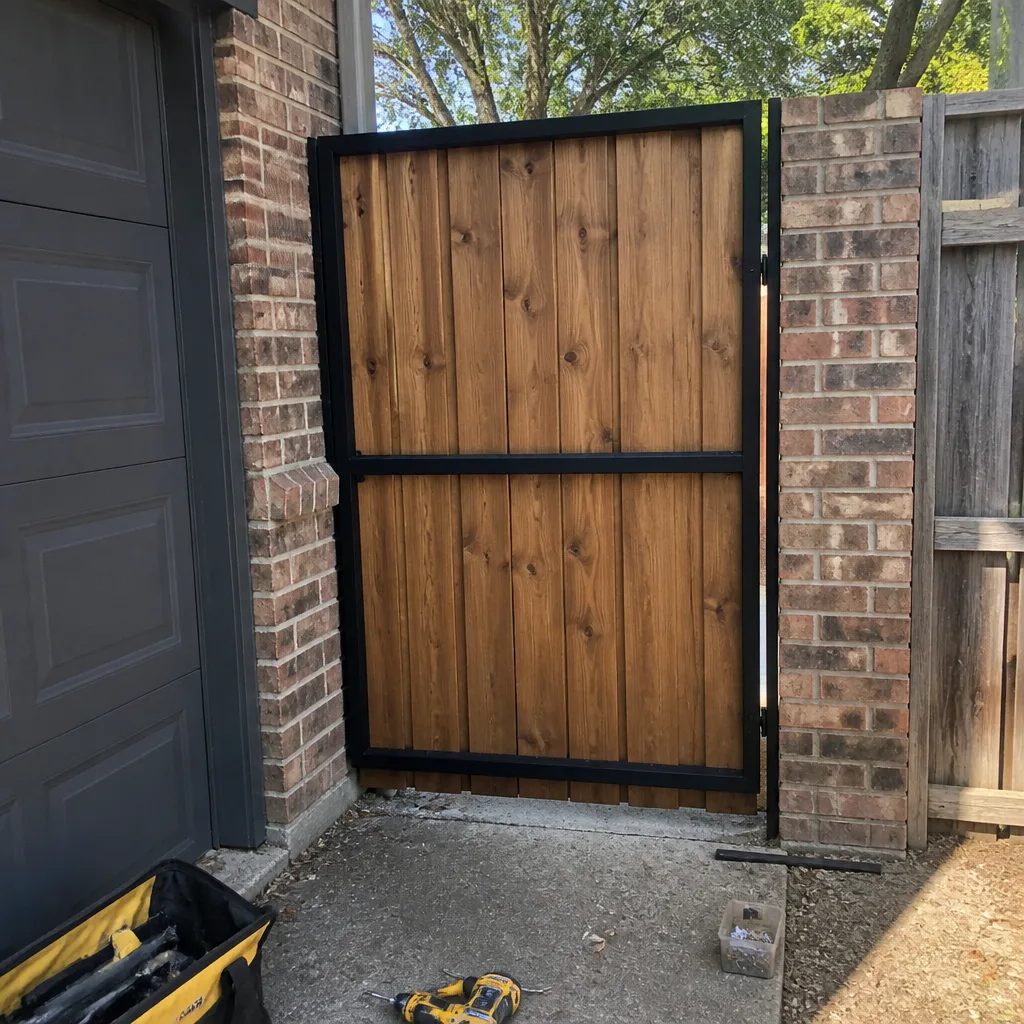 After
After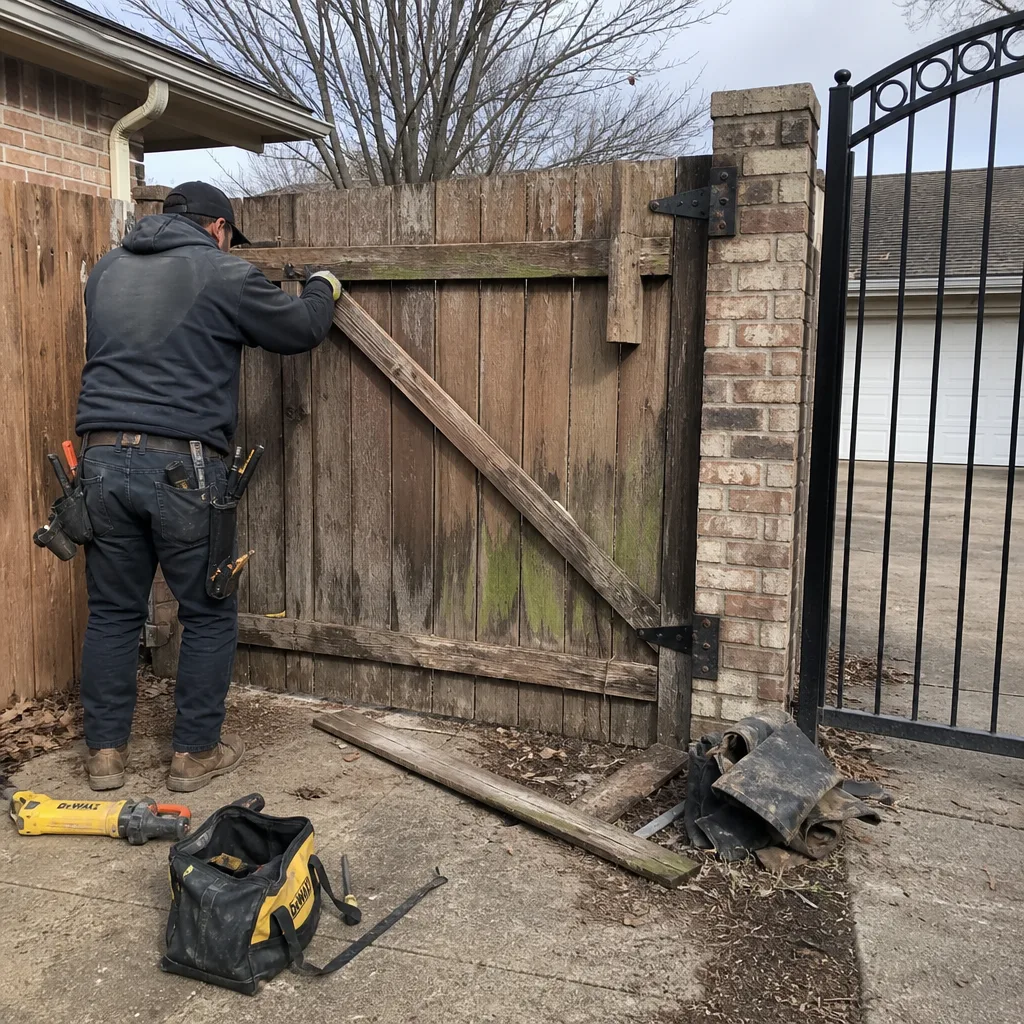 Before
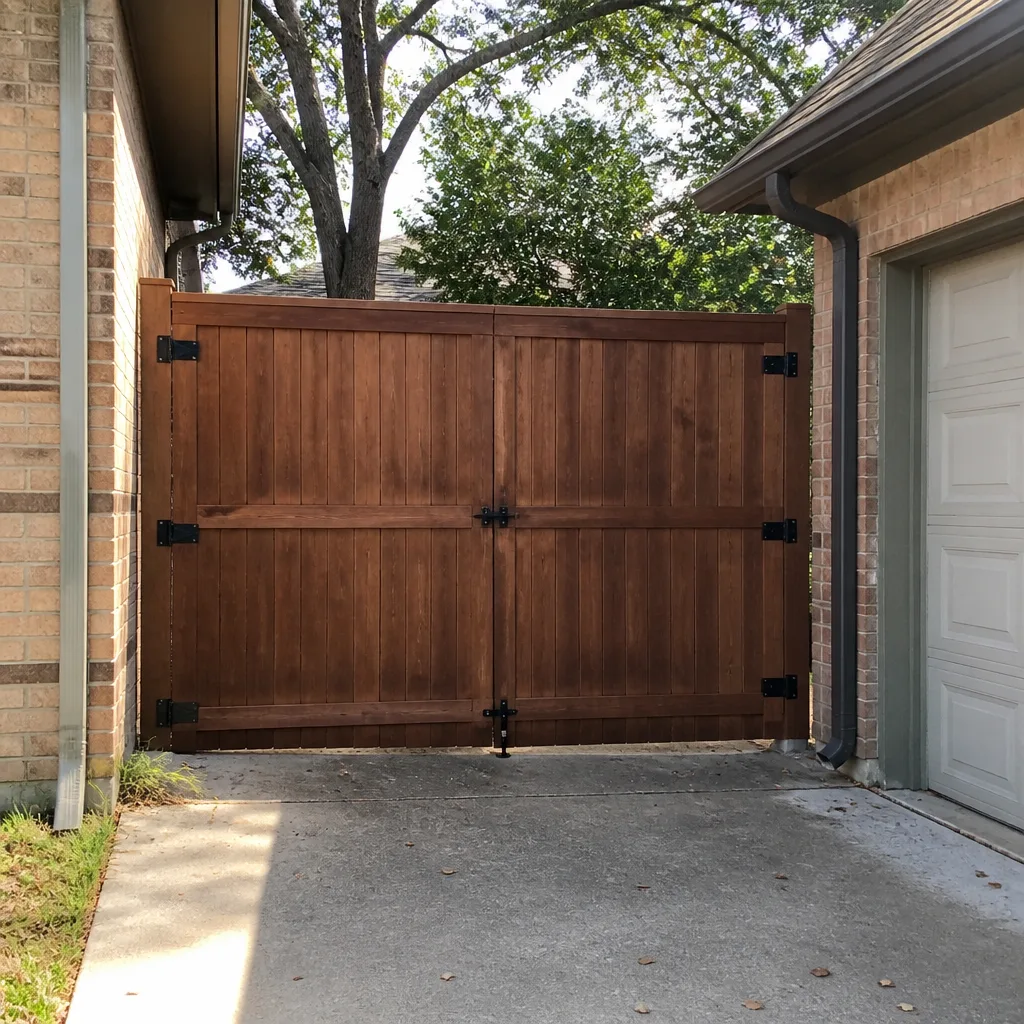 After
AfterGate Repair Maintenance Checklist for Coppell Homeowners
The single most neglected item on every gate in Coppell isn’t the motor. It’s the bottom hinge. That hinge sits six inches off the ground, collects irrigation overspray year-round, and is usually the first thing to rust through while the owner is watching the opener light blink and wondering why the gate groans. By the time anyone notices, the gate has already started sagging, the motor is working twice as hard, and a $40 hinge has become a $600 repair. This guide is a plain-language inspection routine for Coppell homeowners, built around what actually fails out here in North Texas heat and clay soil, not generic national advice. You’ll learn what normal looks like and sounds like, which lubrication products actually survive a Coppell summer, how to document your gate’s condition with your phone, and where to draw the line between a homeowner task and a job for someone who welds for a living.
Quick Answer
A gate maintenance checklist for Coppell homeowners comes down to five areas: hinge hardware, post base, operator arm, safety sensors, and control board. Inspect each one monthly, lubricate moving parts twice a year with a high-temperature lithium or silicone product, and keep irrigation spray off all metal hardware. Most Coppell gate failures start small: a dry hinge, a loose post bolt, a sensor knocked six degrees out of alignment. Catch them early and a gate will run for twenty years; ignore them and the repair bill finds you in eighteen months.
Table of Contents
- Hinge Hardware: The Part Nobody Checks Until It’s Too Late
- Post Base and Concrete: What Coppell Clay Does to Gate Posts
- Operator Arm and Drive System: What Normal Sounds Like
- Safety Sensors and Photo Eyes: The Six-Degree Problem
- Control Board and Electrical: The Part You Don’t Touch
- Lubrication in a High-Heat Climate: What Survives a Coppell Summer
- Irrigation Proximity: The Silent Gate Killer in Coppell
- Documenting Your Gate With Your Phone: A Homeowner’s Baseline
Hinge Hardware: The Part Nobody Checks Until It’s Too Late
Every gate in Coppell has two or three hinges, and every hinge has a job: carry the full weight of the gate while letting it swing freely. When a hinge starts to fail, the gate doesn’t fall off. It sags. The latch stops lining up. The motor strains. The bottom hinge takes the worst of it because it sits closest to the ground, where sprinkler water, soil splash, and humidity collect. We’ve pulled bottom hinges off Coppell gates that looked fine on the outside and were rusted paper-thin on the inside bore.
Here’s the inspection routine we teach every homeowner who calls us. It takes four minutes.
- Look at the hinge gap. The gap between the gate leaf and the post should be roughly even from top to bottom. If it’s tighter at the top and wider at the bottom, the bottom hinge is wearing or the post is leaning.
- Lift the gate. Grab the latch end and lift. A small amount of play, maybe an eighth of an inch, is normal on a bearing hinge. If you can lift the gate a half inch or more, the hinge pin or bearing is shot.
- Listen. Swing the gate manually (pull the release handle on the operator first). A quiet hinge is a happy hinge. Squeaking, grinding, or a rough, gritty feel means metal is wearing against metal and the wear accelerates every week you ignore it.
- Check the fasteners. Wiggle each hinge bracket where it bolts to the gate frame and the post. A loose bracket lets the gate shift under load, and every shift wallows out the bolt holes a little more.
Coppell specifics matter here. Our summers hit triple digits for weeks at a stretch, and that heat dries out standard grease fast. Our winters bring freeze-thaw cycles that work on any moisture trapped in hinge bores. And the clay soil under Coppell shift with moisture content, which means posts move a little seasonally. A hinge that’s marginal in March can be failed by August.
If you catch a dry or squeaking hinge early, a shot of the right lubricant (we cover products in the lubrication section below) often buys years. If the gate sags visibly or the hinge has rust-through, that’s a repair job. On welded steel gates, a hinge replacement may mean cutting off the old bracket and welding a new one on. That’s exactly the kind of on-site work we do regularly for Coppell homeowners. You can read more about our repair approach on the Gate Repair in Coppell page. A gate sags in the hinge post, not in the middle, and that is where we start.
Post Base and Concrete: What Coppell Clay Does to Gate Posts
The hinge post and the latch post are the foundation of the whole gate system. If they move, everything else fights. In Coppell, the biggest force working against gate posts isn’t the gate itself. It’s the soil. Our clay expands when it’s wet and contracts when it’s dry, and a post set in a concrete pier that’s too shallow or too narrow will start to lean within a few seasons. A leaning post doesn’t just look bad. It changes the geometry of the hinge line, which makes the gate bind, which makes the motor draw more current, which shortens the motor’s life. Show me the gate closing on its own and I’ll show you where it’s failing, and half the time it’s failing at the post base.
Walk around your gate once a month and ask three questions.
- Is the post plumb? Stand back ten feet and eyeball it against the house or a fence line. A post that leans even a couple of degrees is worth watching closely. Mark it with a pencil line on the concrete and check again in a month.
- Is the concrete cracking? Hairline cracks in the concrete collar around a gate post are often the first visible sign that the post is torquing under load. In Coppell clay, those cracks also let water down to the post base, which accelerates rust on steel posts.
- Is water pooling at the base? After a storm or a long sprinkler run, check whether water ponds around the post. Standing water against a steel post is a countdown clock.
What you can fix yourself: keep soil and mulch pulled back from the post base so air can circulate and water can drain. Trim grass and ground cover away from the concrete collar. Don’t let sprinkler heads spray directly onto the post.
What you should not fix yourself: a post that’s already leaning more than a couple of degrees, or a post base with significant concrete spalling. Straightening a loaded gate post means releasing the gate’s weight, digging out or cutting the old footing, resetting the post plumb, and re-pouring. Get that wrong and the gate comes down on someone. If you notice a lean developing, call us before it compounds. We’ve reset more Coppell gate posts than we can count, and a post reset in year three is half the price of a post, hinge, and motor replacement in year six.
Operator Arm and Drive System: What Normal Sounds Like
The operator arm is the metal link between your gate motor and the gate itself. On a swing gate opener, it’s the arm that pushes and pulls the gate leaf. On a slide gate, it’s the chain or rack that moves the gate along the track. Homeowners rarely look at this part until it falls off, which is a shame because the operator arm is one of the easiest things to inspect and one of the clearest early-warning systems on the whole gate.
Here’s what normal looks like and sounds like on a Coppell gate.
Normal sound: A consistent, low hum from the motor with a smooth, even movement of the gate. No surging, no stuttering, no metallic clank at the start or end of travel.
Normal movement: The gate accelerates gently, moves at a steady pace, and decelerates before the stop. Jerky motion usually means a binding hinge, a low battery (on solar systems), or a drive assembly that’s out of adjustment.
Normal arm position: On an articulated swing arm, the two arm sections should move freely by hand when the operator is released. Stiffness or play in the arm joints translates directly to load on the motor.
Listen for these specific sounds and what they mean:
- A squeal when the gate starts or stops: usually a slipping belt or a dry drive gear. Address it now, before the belt glazes and you’re replacing the whole drive.
- A rhythmic clicking during travel: often a worn gear tooth or a chain that’s too loose. It gets worse, never better.
- A grinding clunk at the end of travel: the limit switch may not be stopping the motor soon enough, so the arm is hitting the mechanical stop under power. That destroys gears fast.
Twice a year, pull the release handle and swing the gate manually through its full arc. It should move smoothly with even resistance. If it binds partway through, the gate itself is the problem and the motor is just the messenger. Keep forcing a bound gate with the motor and you’ll burn out the operator on a schedule. We service operators from Ghost Controls, DoorKing, Elite, Mighty Mule, and the other major brands on a regular basis, and the failure pattern is consistent: the operator is rarely the first thing to fail. It’s the thing that fails after something else was ignored for a year. If your opener is acting up, the Gate Motor & Opener in Coppell page explains how we diagnose and repair them.
Safety Sensors and Photo Eyes: The Six-Degree Problem
Modern automatic gates in Coppell have photo eye sensors mounted near the gate opening, usually about 18 inches off the ground. Their job is simple: if anything breaks the beam while the gate is moving, the gate stops and reverses. They are also the most common source of false alarms and non-opening gates in our service area, and most of the time the fix takes 30 seconds once you know what to look for.
The most common failure is alignment. A photo eye that’s been knocked six degrees out of alignment by a mower, a kid, or a stray basketball stops seeing its partner across the opening. The control board reads that as an obstruction and refuses to close the gate. Here’s the routine.
- Check the indicator lights. Most photo eyes have a small LED. A solid light usually means aligned and powered. A blinking light usually means misaligned or blocked. If both eyes are dark, check the breaker and the low-voltage wiring.
- Clean the lenses. Coppell dust, pollen, and irrigation hard-water spots build a film on the lenses that weakens the beam over time. A soft cloth and mild soapy water, once a month during spring and fall allergy seasons, keeps them clear.
- Check for physical obstruction. A plant that grew up in front of the eye, a child’s toy, a trash can set down in the beam path. The beam is narrow. It doesn’t take much.
- Realign by eye. If the light is blinking and the lenses are clean, stand behind the receiver and sight back to the transmitter. Both eyes should point directly at each other. Adjust the mounting bracket until the blink goes solid.
One Coppell-specific note: our afternoon sun sits low in the sky for a good chunk of the year, and direct sunlight hitting a photo eye receiver at the right angle can wash out the signal and cause intermittent failures. If your gate refuses to close only at certain times of day, sun glare on a sensor is a leading suspect. A small improvised shade hood over the receiver often solves it. If you’d rather have it done right, a sensor relocation or a hood installed by someone who’s solved the problem on a hundred Coppell gates is a quick visit. Call us before you start swapping sensors: a new sensor on a gate that just needs an alignment adjustment is money spent on the wrong problem, and we’d rather save you the part.
Control Board and Electrical: The Part You Don’t Touch
Here’s the thing about gate control boards: they look simple. A little green circuit board with some screw terminals and a few blinking LEDs. A homeowner who’s comfortable replacing a light switch might look at the control board and think, well, how hard can it be. The answer is that live voltage, stored capacitor charge, and sensitive logic circuits live on that board, and a mistake here can fry the board, the motor, or the person holding the screwdriver.
We’re going to be direct about this: the control board and any electrical connections are not homeowner maintenance territory. What a homeowner can do is observe. Here’s what to watch for.
- Blinking diagnostic LEDs. Most modern boards from brands like Ghost Controls, DoorKing, and Elite have status LEDs that blink in patterns when something’s wrong. Your operator manual has the legend. A steady blink pattern that matches a fault code is useful information when you call us.
- Burned or melted smells. A control box that smells like hot plastic has a problem. Don’t open it to investigate. Kill power at the breaker and call someone who works on these boards for a living.
- Corrosion at the low-voltage terminals. If you’re comfortable looking, and only if the power is off, check the low-voltage wire connections for green or white corrosion. Coppell humidity and ant invasions (fire ants love control boxes for some reason) both cause terminal corrosion.
- Ant activity. We have opened control boxes in Coppell that were three-quarters full of fire ant nest. Ants are attracted to the warmth and the shelter, and their bodies and nest material short out boards. A few ant baits placed near (not inside) the control box in spring helps keep them out.
What you should actually do with the control board, on a schedule: nothing. Not a cleaning, not a tightening, not an inspection with a multimeter. Leave it alone. If the gate is doing something weird, write down what the LEDs were doing, note the time of day, and call us. We’ll troubleshoot it over the phone or schedule a visit. There’s a reason the electrical section of this checklist is the shortest: it’s the one section where the checklist item is “observe and report.” A gate opener is the most expensive single part on most Coppell gates, and the fastest way to turn a $150 board repair into a $900 board replacement is to open the box with power applied and touch the wrong thing.
Lubrication in a High-Heat Climate: What Survives a Coppell Summer
Standard advice on gate lubrication says to use white lithium grease or general-purpose bearing grease, and that advice was written for a different climate. Coppell summers run 95 to 105 degrees for weeks at a time, and the surface temperature of a black metal gate in direct sun can hit 160 degrees. Standard grease breaks down under that heat, liquifies, and runs out of the hinge, leaving it drier than it was before you lubricated it. Then winter comes, the grease that’s left has turned to a sticky paste in the cold, and the gate groans through December.
Here’s the lubrication plan we recommend for Coppell gates, and it’s what we use ourselves on every service call.
For hinges and pivot points: Use a high-temperature lithium complex grease rated for 350 degrees or higher. Apply it sparingly: a pea-sized amount per hinge, worked into the joint by swinging the gate. More is not better. Excess grease attracts dirt and grit, which wears the hinge faster.
For the operator arm joints and screw drives: Use a dry silicone spray or a PTFE-based lubricant. These don’t attract dust the way oil-based products do, and Coppell has no shortage of dust. On a screw-drive operator, a small amount of the manufacturer’s recommended grease on the screw threads twice a year is plenty.
For chains and gear racks: A light machine oil, applied with a brush, wiped clean after ten minutes. You want the chain lubricated, not dripping. On a slide gate in Coppell, the chain picks up dust and grass clippings, and oil-soaked debris becomes an abrasive paste.
What makes things worse: WD-40. It’s a solvent and a water displacer, not a lubricant. It strips whatever protection is in the hinge and evaporates, leaving bare metal. We’ve seen hinges that were WD-40’d monthly for years and were in worse shape than hinges that had never been lubricated at all. Also avoid cooking spray, motor oil, and axle grease: all of them break down or attract grit or both.
Schedule: Lubricate hinges and pivot points twice a year, ideally in April and October, which puts the application ahead of the worst heat and the first freeze. After the first good rain of spring and again in fall, check that the lubricant is still present. A dry hinge fails fast, and once it starts to wear, lubrication won’t put the metal back.
Irrigation Proximity: The Silent Gate Killer in Coppell
Coppell has a lot of lawns, and Coppell homeowners water those lawns on a schedule. Most of those sprinkler systems were designed before the gate was installed, or the gate was installed after the sprinklers were in, and nobody thought about the overlap. The result is irrigation spray hitting gate hardware every single watering cycle, and the result of that is predictable: rust on the hinges, corrosion on the operator arm, mineral buildup on the sensor lenses, and a post base that never fully dries out.
This is one of the most common calls we get in Coppell: a gate that’s rusted through in three years when it should have lasted fifteen, and the root cause is a sprinkler head two feet away that’s been misting the bottom hinge twice a day since the gate went in. The owner never connected the two because the gate is at the side of the house and the sprinkler runs at 5 a.m.
The two-minute fix that stops most of it: walk out while your sprinkler system is running and watch where the spray actually lands. Sprinkler heads drift over time. A head that pointed at the lawn when it was installed now throws a fan of water across the gate hinge. Most heads can be adjusted in under a minute with the right key or a small screwdriver, and deflecting the spray away from the gate costs nothing and saves hundreds over the life of the gate. If the head can’t be adjusted far enough, a small plastic spray shield or a piece of PVC pipe half-covering the head works, or the head can be replaced with a lower-arc model.
While you’re at it, check where your downspouts discharge. A downspout that splashes water onto the gate post or the operator arm is the same problem with a different source. A short downspout extension elbow from the hardware store moves the water a foot away, and a dry post base lasts years longer than a wet one.
If you’ve already got rust through on a hinge or the operator arm, the fix is a replacement part, not a paint job. Surface rust can be cleaned, treated, and repainted. Rust that has eaten through the wall of a tube or a bracket needs that metal replaced, and on a welded gate that means cutting and re-welding. We do that work on site for Coppell homeowners all the time, because replacing a whole gate that just needs a new hinge or a welded patch is a waste of good steel and good money. If you want to see how we approach repairs, the Gate Repair in Coppell page goes into more detail.
Documenting Your Gate With Your Phone: A Homeowner’s Baseline
The single most useful thing you can do for your gate, right now, this week, takes ten minutes and costs nothing. Photograph it. Video it. Document what normal looks like so that when something changes, you can show a contractor exactly what changed instead of describing it from memory. This matters more than homeowners realize, and it matters even more when you’re comparing quotes or checking whether a repair was actually needed.
Here’s the documentation routine. Do this once, then update it annually and after any repair.
- Take a full walk-around video. Start at one post, walk around the gate, finish at the other post. Hold the phone at hinge height. Narrate as you go: “hinge has light surface rust, gate opens smoothly, sensor lights are solid.” Thirty seconds is plenty.
- Photograph each hinge close-up. A clear photo of each hinge from the side, showing the gap and the fastener condition. Date these photos in your phone’s album or filename.
- Photograph the operator arm and the control box. Include the data plate or model label if visible. When you call for service, knowing whether you have a DoorKing or a Mighty Mule saves a round of questions.
- Photograph the sensor eyes. Both of them, showing the mounting position. If one gets knocked out of alignment, you’ll have a reference for where it belonged.
- Video the gate opening and closing. Full cycle, both directions. Note in the video if any sound is present. This is your baseline sound and motion reference.
- Write down the model numbers. One note in your phone with the opener brand, model, and approximate install date. You’ll be glad to have it when you call about a repair.
Why this matters in practice: we’ve had Coppell homeowners call us and describe a “grinding noise” that turned out to be three different things depending on which of the three gates on their property they meant. We’ve also had homeowners send us a 20-second video from their phone that let us diagnose a failing hinge bearing before we ever drove out. When you have a baseline, you can compare. When you can compare, you catch changes early. And when you catch changes early, the repair is smaller, faster, and cheaper. A photo album of your gate is the cheapest insurance policy you’ll ever take out.
Common Mistakes to Avoid
- Lubricating a failing hinge and calling it fixed. Lubrication quiets a dry hinge, but it doesn’t restore metal that’s already worn. If the gate sags or the hinge has play, lube is a stopgap, not a repair. Get the hinge replaced or rebuilt before it damages the post.
- Using the wrong lubricant. WD-40, motor oil, cooking spray: all of them make the problem worse over time. In Coppell heat, the wrong product evaporates or runs out faster than the label suggests, and the hinge ends up drier than before.
- Ignoring a blinking sensor light. The gate still works, so the blinking light gets ignored. Then one day the gate won’t close at all, usually when you’re late for work. A blinking photo eye is a 30-second fix today and a service call next month.
- Tightening a loose hinge bolt without checking the post. If the bolt is loose because the post is moving, tightening it just moves the stress somewhere else. Figure out why the bolt came loose before you crank it back down.
- Opening the control box to “take a look.” Live voltage and a circuit board are not a spectator sport. If the board has an issue, observe the LEDs and call a professional. A $100 board diagnosis is cheaper than a $900 board plus a hospital co-pay.
- Watering the gate along with the lawn. If your sprinkler is hitting the gate hardware, every watering cycle is doing damage. Adjust the head or shield the gate. This is the most preventable cause of premature gate failure we see in Coppell.
- Replacing the opener when the gate is the problem. A bound hinge or a sagging post makes the motor work harder, and the motor eventually fails. Replace the motor without fixing the bind and you’ll replace the motor again. Fix the gate first.
When to Call a Professional
There’s a line between homeowner maintenance and professional repair, and it’s drawn at live voltage and structural load. If you’re checking hinges, lubricating, cleaning sensors, adjusting sprinkler heads, documenting with your phone: those are homeowner jobs and this guide covers them. If your gate post is leaning, if a hinge is rusted through or the gate sags visibly, if the operator is making a grinding or squealing noise, if the control board is blinking a fault code, or if anything involves the gate’s weight coming off its mountings, call someone who does this work every day. A gate under tension or a post under load can hurt you badly if the release goes wrong. We’d rather come out and tell you it was a simple fix than read about someone who tried to save $200 and ended up under a gate. Gatewood Fence & Gate offers free estimates in Coppell. Call (903) 829-4499 and a live person answers, any hour of the day.
Frequently Asked Questions
Monthly visual inspection and twice-yearly lubrication is the right rhythm for most Coppell gates. The monthly check takes five minutes and catches loose fasteners, sensor misalignment, and new rust before they become problems. Lubrication in April and October stays ahead of the summer heat and winter freeze cycles that stress gate hardware in North Texas. If your gate gets heavy use, daily open and close cycles, or sits near irrigation spray, inspect it more often.
Use a high-temperature lithium complex grease on hinges and pivot points, and a dry silicone or PTFE spray on operator arm joints. Standard white lithium grease breaks down faster than the can suggests in Coppell summer heat, which means it runs out and leaves the hinge dry. Avoid WD-40, motor oil, and general-purpose spray lubes: they either strip protection or attract abrasive grit. Apply sparingly, because excess lubricant collects dust and wears parts faster.
The most common cause we see in Coppell is irrigation spray hitting the hinge during regular lawn watering. A sprinkler head that mists the bottom hinge twice a day keeps the metal wet, and wet steel rusts fast. The fix is to adjust the sprinkler head away from the gate, install a small spray shield, or move the head. If the rust has already eaten through the hinge material, the hinge needs to be replaced, which on a welded gate means cutting and re-welding.
If the sag is caused by a loose hinge bolt, yes: tighten it and check again in a week. If the sag is caused by a worn hinge pin, a rusted hinge bracket, or a leaning post, that’s a structural repair and it’s not a DIY job. The gate’s full weight has to come off the hinges safely, and the post has to be plumb and solid before the hinge goes back on. Fix the panel without the post and you’ll fix it twice. Call a professional before the sag gets worse.
If the motor runs after the gate reaches the end of travel, the limit switch or travel settings are off, and the motor is pushing against the mechanical stop. That destroys gears and belts quickly. It’s usually a straightforward adjustment or a limit switch replacement. Don’t keep running the gate while it’s doing this. Call a gate repair professional before the damage spreads to the drive assembly.
A DIY inspection costs nothing but time, and basic lubrication supplies are under $30 at any hardware store. If you’d rather have a professional do a full inspection and maintenance pass, most Coppell gate companies charge $125 to $250 for a full service visit, depending on what needs adjusting. If the maintenance visit turns up a repair, you want a company that quotes the repair price before any work starts and stands behind it. Gatewood Fence & Gate does exactly that: the price is quoted and agreed before the work begins, and every job carries our 90-Day Done Right Promise in writing. Call (903) 829-4499 for an exact quote, and if you already have a written estimate from another company, bring it to us for a free second opinion.
The Bottom Line
A gate in Coppell fails the same way every time: slowly, quietly, and at the hinge. The maintenance checklist that actually matters is short: inspect the hinges monthly, lubricate twice a year with products that survive the heat, keep sprinkler spray off the hardware, document what normal looks like, and leave the electrical and structural work to someone who does it daily. Do those things and your gate will outlast your neighbor’s by a decade. When you need an extra set of eyes or a real repair, the Gatewood Fence & Gate home page has our full story, and the repairs we do are covered on the Gate Repair in Coppell page. If you’re considering a new gate instead of repairing the one you have, the Gate Installation in Coppell page walks through what a new install actually involves. And if your opener is the tired half of the equation, the Gate Motor & Opener in Coppell page covers diagnostics and repair.
The name is on the shop, and the shop is down the road. That is the oldest accountability there is.
Written by Hal Gatewood, Owner at Gatewood Fence & Gate, serving Coppell since 2001.