
Last updated August 26, 2026
Free on-site gate assessment - hinges, posts, and your LiftMaster or Nice gate operator checked before anything is quoted
The assessment is free and the quote is the invoice.
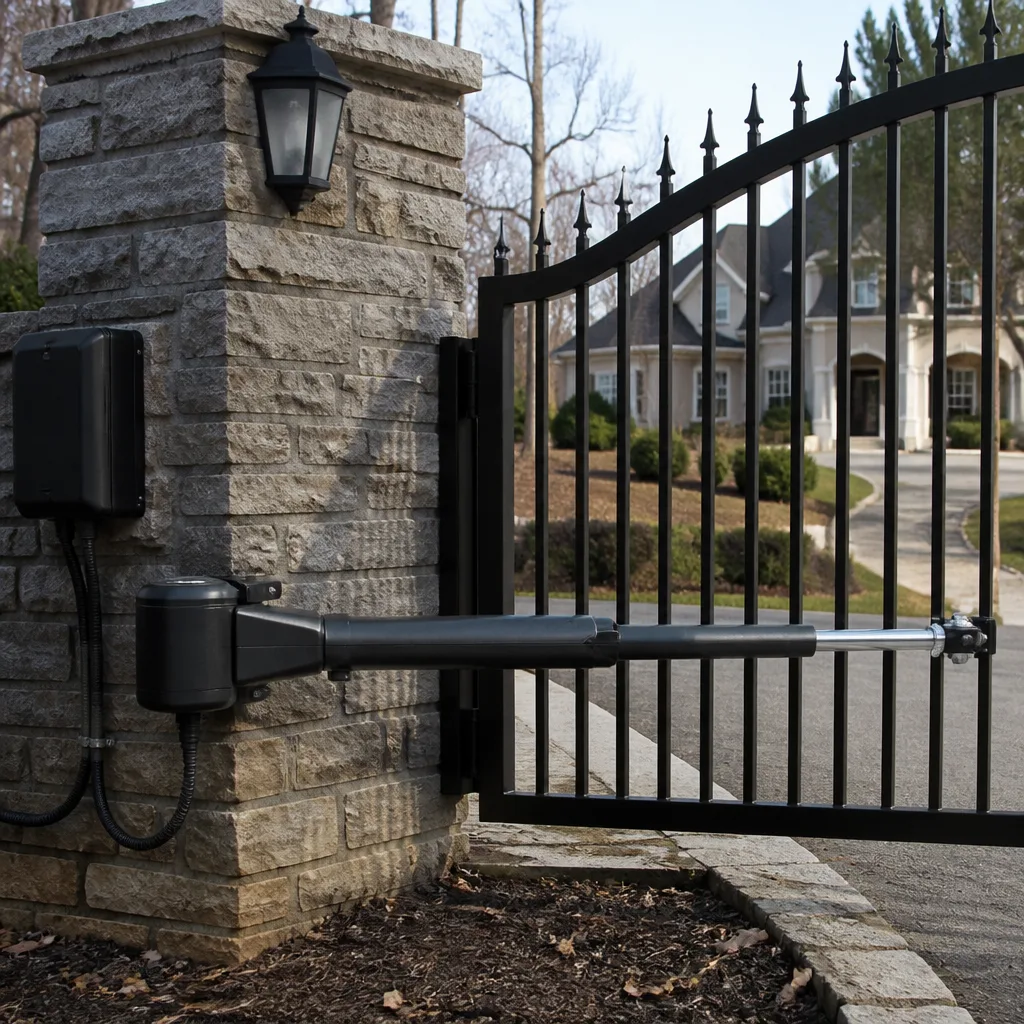
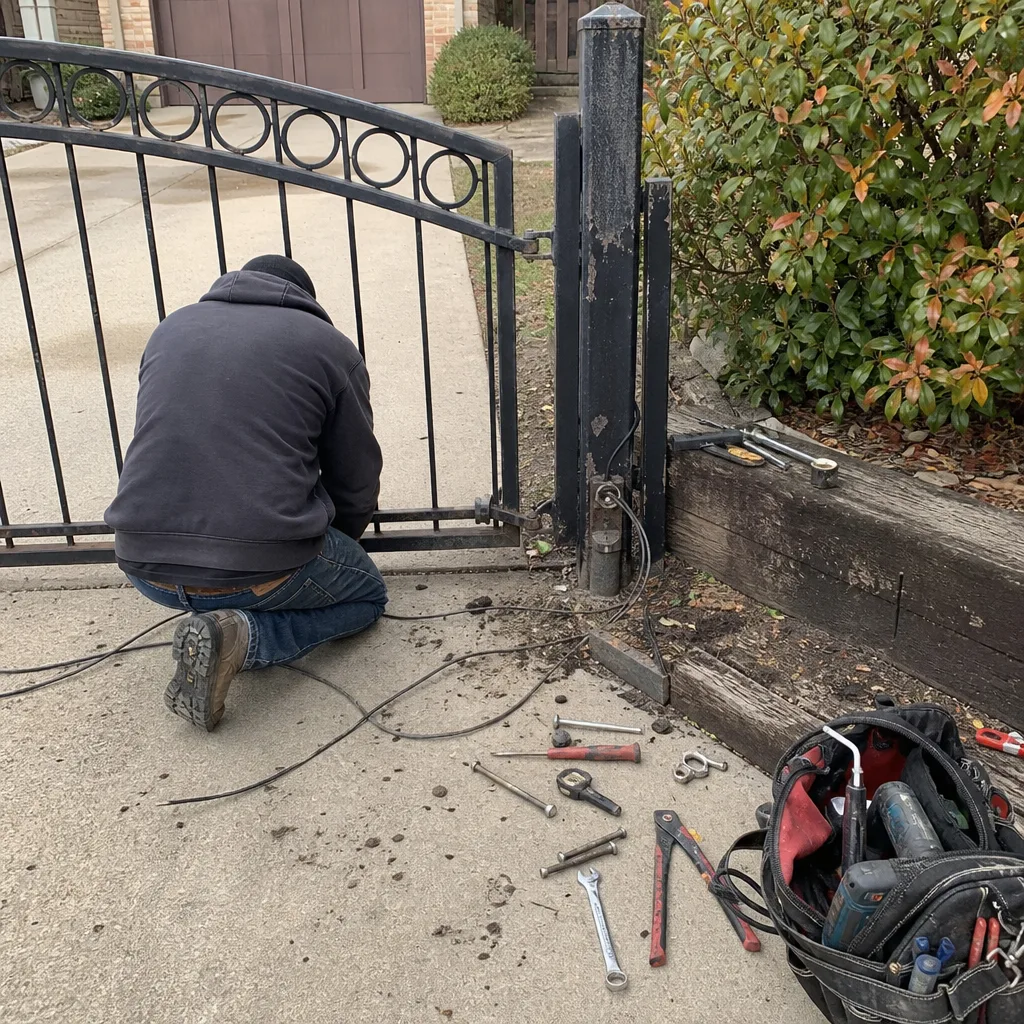 Before
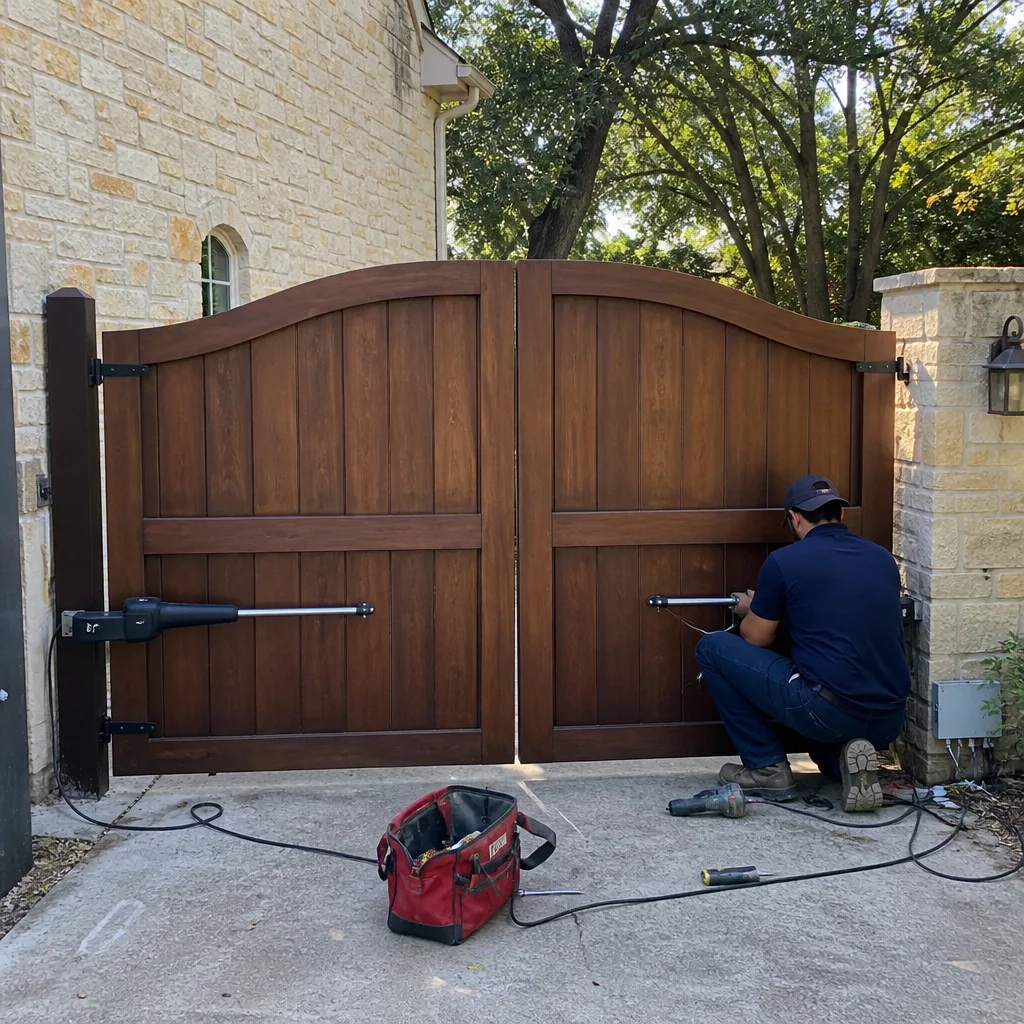 After
After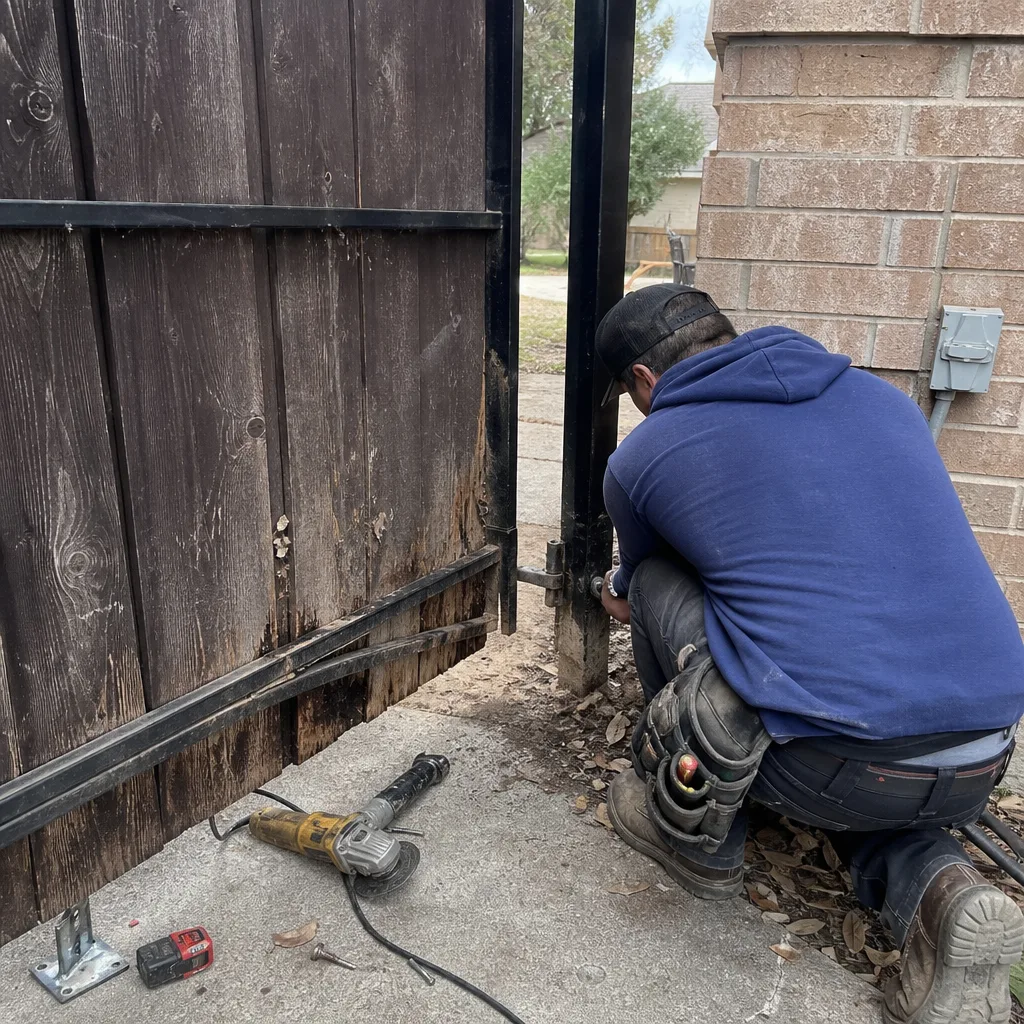 Before
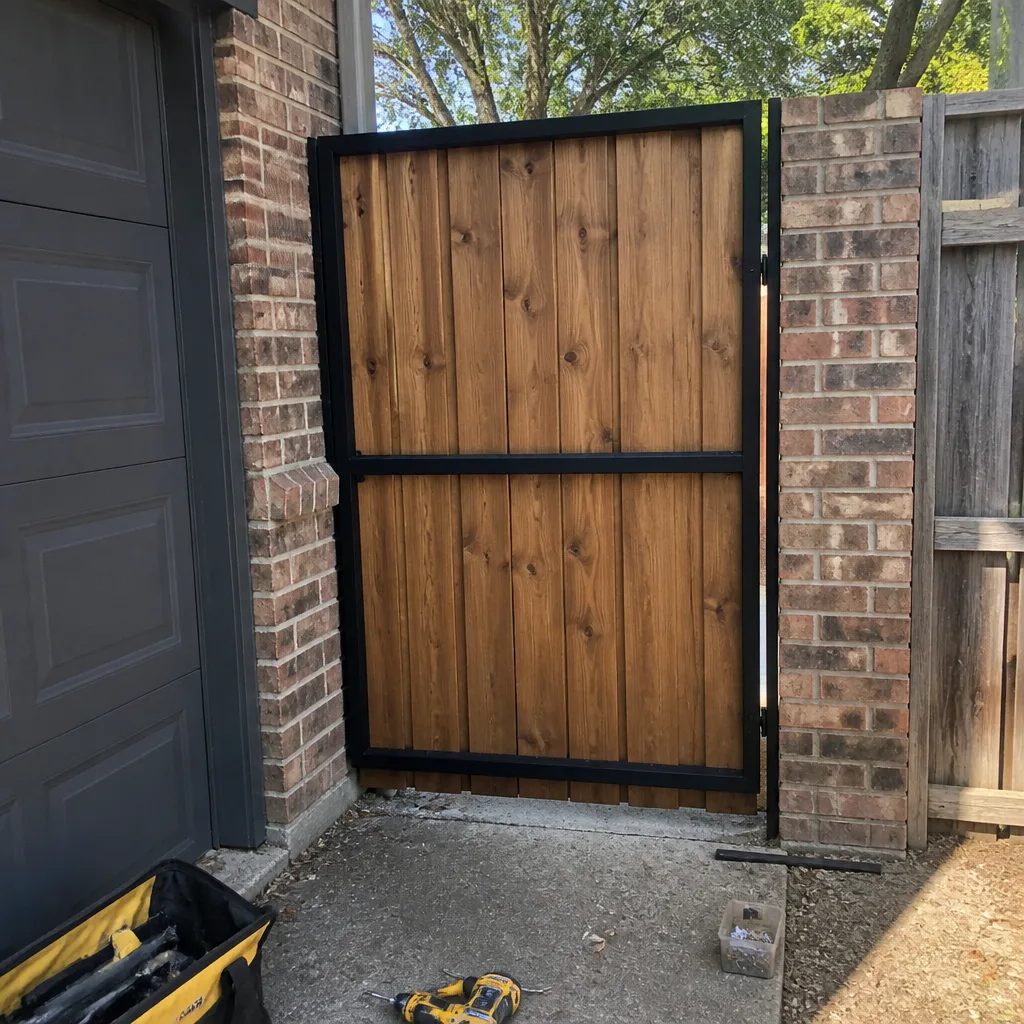 After
After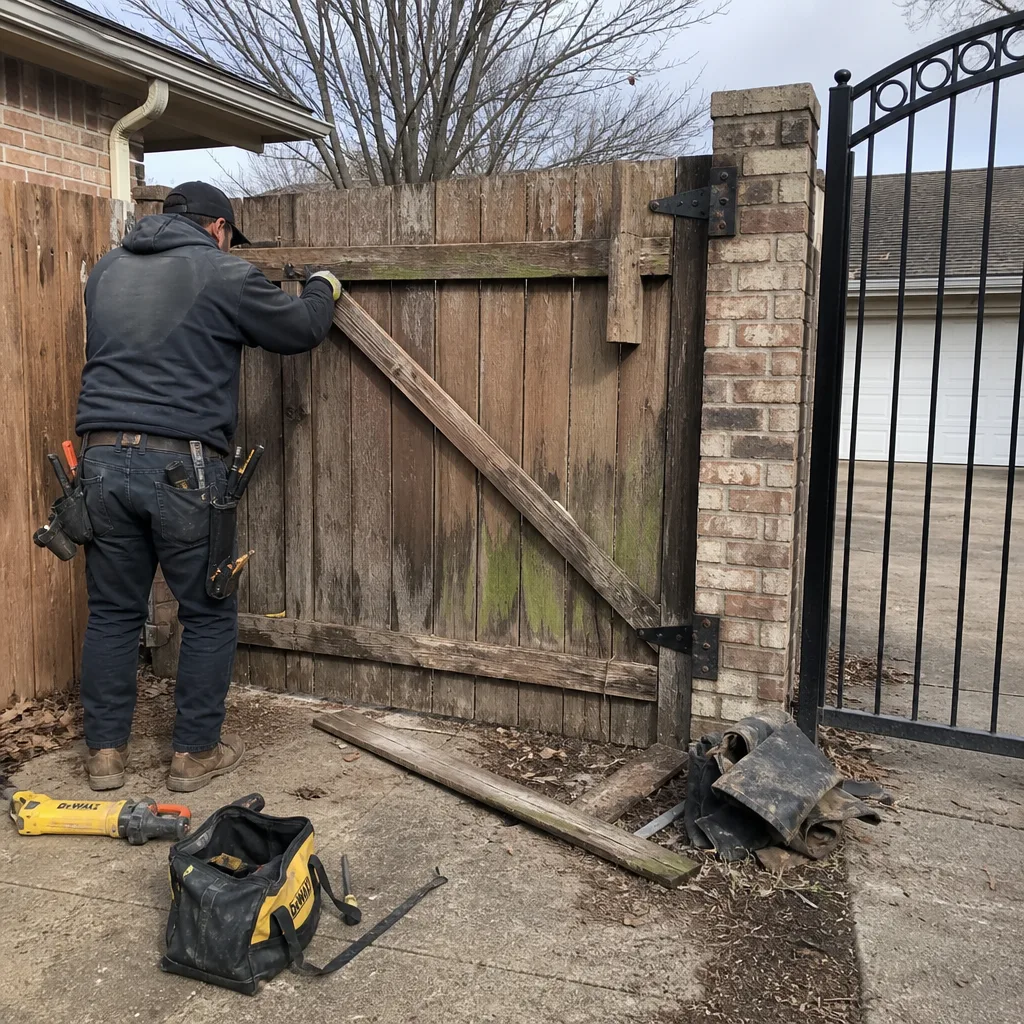 Before
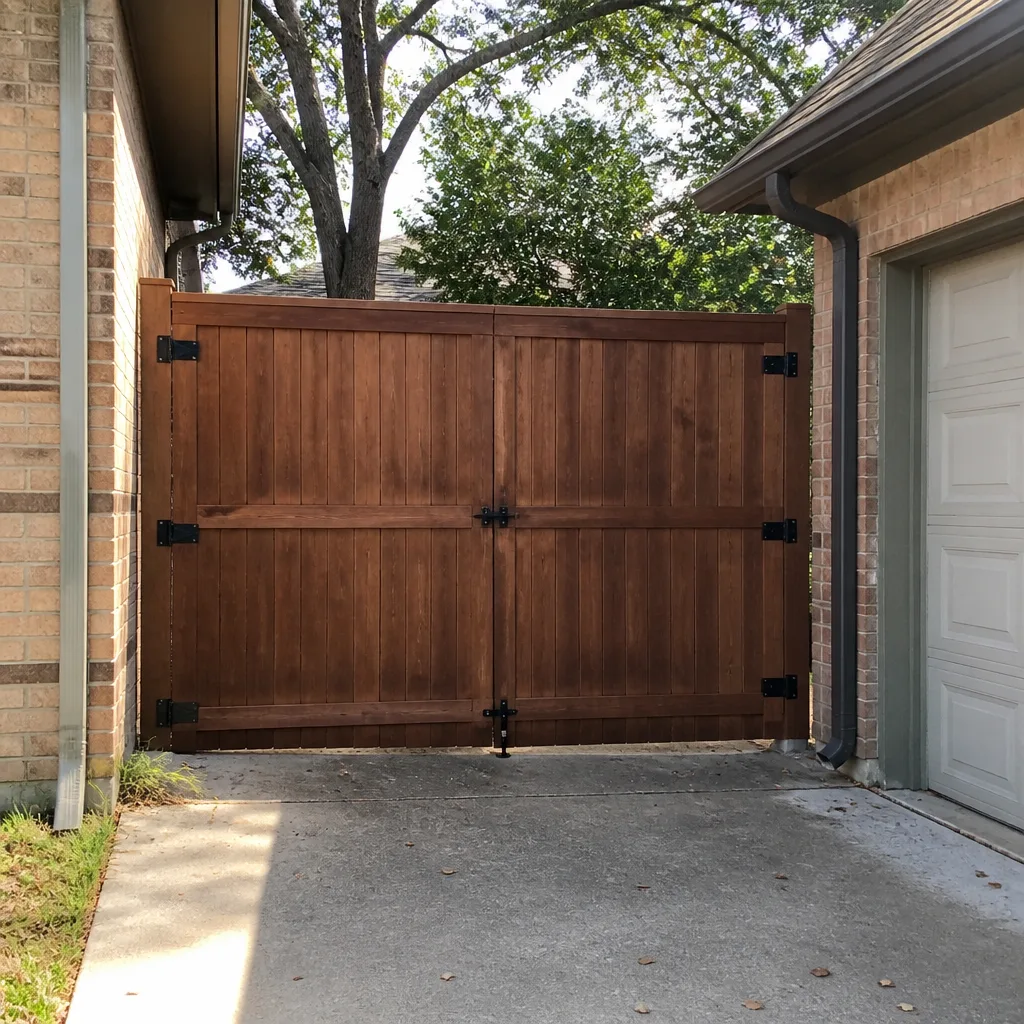 After
AfterDIY vs Professional Gate Repair: The Coppell Homeowner’s Decision Guide
We’ve rebuilt more Coppell gates after well-meaning DIY attempts than most people have gates, period. And here’s the thing that surprises homeowners every time: the expensive failures were rarely the ambitious projects. They were the quick fixes. A lag bolt driven into rot. A post reset without checking footing depth. A sensor “cleaned” with the wrong spray that ate the lens. Six weeks later, the gate fails again and takes the new hardware with it. This guide draws an honest line between what a careful Coppell homeowner can handle and what quietly goes wrong when a YouTube tutorial meets a 400-pound steel gate that wants to fall over.
Quick Answer
Most gate maintenance in Coppell is genuinely DIY-friendly: cleaning photo eye sensors, lubricating hinges, tightening visible bolts, and replacing remote batteries are all safe weekend tasks. For a deeper look at what to tackle and when, see our Gate Repair Maintenance Checklist for Coppell Homeowners. But any repair involving the gate post itself, load-bearing welds, operator wiring, or a gate that weighs more than about 200 pounds should go to a professional. A failed DIY structural repair commonly costs two to three times more than hiring it out correctly the first time, because the contractor has to undo your work before starting the real fix.
Table of Contents
- The Honest Line: What’s DIY vs What Isn’t
- DIY-Safe Tasks: What You Can Handle This Weekend
- Professional Territory: Where DIY Goes Wrong
- The Hidden Costs of a Failed DIY Repair
- Tool and Skill Requirements: An Honest Picture
- The Hybrid Approach: When Splitting the Job Makes Sense
- How to Describe a DIY Attempt to a Contractor
- Common Mistakes to Avoid
- When to Call a Professional
- Frequently Asked Questions
The Honest Line: What’s DIY vs What Isn’t
Gate repair in Coppell splits into two categories, and weight is the simplest dividing line. A gate under 200 pounds with good posts and hardware is forgiving. A gate over 200 pounds, or one on sloping ground, or a double gate where two leaves meet in the middle, is not. When a heavy gate fails, it doesn’t sit still and wait for you to decide what to do. It twists the post, bends the hinge, and drags the operator with it.
Here’s the two-column breakdown we use with every Coppell homeowner who calls us:
- Genuinely DIY-appropriate: cleaning photo eye sensors, lubricating hinges and rollers, tightening accessible bolts, replacing remote and keypad batteries, adjusting the close-force setting on the operator, clearing debris from the track, and straightening a minor sensor misalignment.
- Carries real risk – call someone: any post work including resetting or replacing a post, welding cracks or broken hinge plates, operator wiring or capacitor replacement, spring tension adjustments, and any repair on a gate weighing more than 200 pounds.
The line isn’t about intelligence. It’s about consequence. If a sensor stops working, worst case is the gate won’t close on its own. If a post gives way, worst case is the whole gate coming down on a car, a kid, a dog, or you. That’s the line. Not skill. Consequence.
Coppell’s soil is another factor people forget. We’re on a mix of blackland prairie clay and sandy loam depending on which side of town you’re on. The clay expands and contracts with moisture. A post that looked perfectly set in March can be leaning in August. That’s not a DIY failure, it’s geology. But it’s also why footing depth and concrete curing matter more here than in, say, a sandy-soil town where drainage hides a shallow post for a decade.
DIY-Safe Tasks: What You Can Handle This Weekend
If you own a gate in Coppell, you’ll get more life out of it if you handle these tasks yourself. Not just because you’ll save money, but because you’ll notice changes before they become failures. The person who lives with the gate hears the new squeak, the slower open, the little shimmy in the wind. That early warning is worth more than any service contract.
Here’s what we tell homeowners is fair game:
- Photo eye sensor cleaning: Wipe the lenses with a dry microfiber cloth. If there’s baked-on dirt, dampen the cloth with water only. Never use glass cleaner, WD-40, or anything with ammonia. Those chemicals fog the lens permanently. A clean sensor is the difference between a gate that opens and closes all year and one that randomly reverses in February.
- Hinge and roller lubrication: Use a white lithium grease or a dry lubricant made for outdoor metal. Spray the hinge pin, open and close the gate a few times, wipe away the excess. Do this twice a year in Coppell. Our summers bake lubricant off faster than people expect.
- Bolt tightening: Walk the gate with a socket set and check every visible bolt. Pay attention to the hinge plates on both the gate and the post. If a bolt keeps loosening after you tighten it, that’s a sign the hole is wallowed out, and tightening harder will make it worse, not better. Stop and call someone.
- Remote and keypad battery replacement: This is a two-minute job. Open the case, swap the battery, move on. Most Coppell homeowners wait until the remote fails entirely, then stand in the driveway clicking it at the gate like that’s going to help. Replace the batteries every year, same day you change your smoke detector batteries, and you’ll never have this problem.
- Track and wheel cleaning: For sliding gates, clear the track of gravel, leaves, and the red clay dust that gets into everything in this part of Texas. Check the wheels for flat spots. A wheel that’s gone square will wear out the track, and that’s a bigger job than most people want to tackle themselves.
Each of these tasks takes under an hour and requires nothing more than a socket set, a screwdriver, and the right lubricant. If you get three of them done on a Saturday morning, you’ve extended the life of your gate by a couple of years. That’s not small.
Professional Territory: Where DIY Goes Wrong
Now the other side. These are the jobs where we’d rather talk you out of doing it yourself, because we’ve seen what happens when it goes wrong, and it’s never just the gate.
Post work. A gate sags in the hinge post, not in the middle, and that is where we start. Replacing or resetting a post means digging a hole deeper than the frost line, setting the post in concrete, bracing it perfectly plumb, and waiting for the concrete to cure before re-hanging the gate. In Coppell’s clay soil, you need a hole at least 36 inches deep for a standard gate post, often deeper for heavier gates. If the hole isn’t deep enough or the concrete wasn’t mixed right, the whole gate leans again in a season. Fix the panel without the post and you’ll fix it twice.
Welding. Cracks happen. Especially on welded steel gates in Coppell, where the temperature swings from 15 to 105 over the course of a year and metal expands and contracts more than people think. A cracked weld isn’t a bolt-on fix. It requires grinding out the old weld, cleaning the metal, and laying down a new bead that actually penetrates. If you own a welder and you know how to use it, you’re in the minority. If you’re thinking about borrowing one from a neighbor and watching a YouTube video in the driveway, you’re describing a trip to the ER or a gate that fails worse than before. We weld on-site, which means the gate stays in your driveway and the fix happens where the crack actually is, not at a shop an hour away.
Operator wiring. Gate operators run on line voltage. That means 120 volts. That means if you open the panel without knowing what you’re doing, the mistake is potentially lethal. Capacitors hold a charge even after the power is off. This is not a “let me just look at it” situation. If your Mighty Mule or LiftMaster opener is dead, blinking an error code, or making a clicking sound but not moving, call someone who works on these daily.
Heavy gates. Once a gate passes 200 pounds, the physics changes. The hinge load multiplies. The operator has to work harder. The post has to be deeper and wider. If you’re unsure whether your gate is over 200 pounds, here’s a test: can you lift one end of it off the ground without straining? If the answer is no, that’s your answer. Don’t unbolt a heavy gate from its post without support. Don’t try to shim a leaning heavy gate. Don’t remove the operator arm from a heavy gate without bracing the gate first. Show me the gate closing on its own and I’ll show you where it’s failing.
One more thing on this. A surprising number of Coppell driveway gates are automated now, and the operators are getting heavier as subdivisions push for larger, more elaborate gates. A 16-foot steel gate with a LiftMaster operator is a different animal from the 8-foot wooden gate on a spring that people remember from the 1990s. The stakes are higher now.
The Hidden Costs of a Failed DIY Repair
Nobody budgets for the second repair. That’s the thing. You buy a $40 hinge kit, spend a Saturday on it, and pat yourself on the back. Six weeks later the gate is dragging again, and now the hinge holes are wallowed out from the failed fix, the post is tilted a few more degrees, and the operator has been fighting the extra resistance long enough that its circuit board is scorched. The $40 fix turned into a $1,400 rebuild. We see this pattern constantly.
Here’s what a failed DIY repair actually costs, beyond the money:
- Voided warranties: LiftMaster, FAAC, BFT, and Mighty Mule all have warranty language that excludes damage caused by unauthorized modification or improper adjustment. If you open the operator cover and adjust the wrong setting, or splice a wire wrong, and the board fails later, the manufacturer can deny the claim. This alone has cost Coppell homeowners hundreds of dollars on repairs that would have been covered.
- Compounded damage: A gate that’s out of alignment doesn’t just fail. It drags the hinges, bends the bracket, stresses the operator gearbox, and wears the wheels unevenly. The longer it runs out of true, the more parts get dragged into the failure. What started as a hinge problem becomes a post problem becomes an operator problem.
- Contractor time to undo your work: If someone has tried to weld a cracked hinge and left a booger of weld that has to be ground out, that’s labor. If a post was reset in concrete and it’s leaning because the hole was too shallow, that post has to be dug out, the concrete broken up, and the whole thing started over. A good contractor gives you an honest price for this. A less honest one uses it as an excuse to pad the invoice. The difference matters.
- The dumpster fee you didn’t plan for: Old concrete, damaged posts, bent hardware. That stuff doesn’t fit in the trash bin. If you’re not set up to haul it, someone has to.
None of this is to say “never try anything yourself.” It’s to say that the cheap fix has a shadow cost that doesn’t show up on the receipt at the hardware store. In Coppell, where gate failures most often show up as slow, creeping problems rather than sudden ones, the temptation is strong to just “tighten it up and see.” By the time you see, the cost has compounded.
Tool and Skill Requirements: An Honest Picture
This section is not here to discourage you. It’s here so that you’re not three hours into a project at dusk on a Sunday, holding a part that doesn’t fit, with the gate blocked open and the hardware store closed. Knowing what’s actually involved is the difference between a satisfying afternoon and a driveway full of regret.
For the DIY-safe tasks we listed above, you need:
- A basic socket set, metric and standard, including deep sockets
- A set of screwdrivers, including a stubby for tight hinge work
- White lithium grease or a dry outdoor lubricant
- Microfiber cloths
- A voltage tester (for remote battery checks only, not for opening the operator)
- About an hour per task, two hours if you’re being careful
For borderline tasks like replacing a hinge or adjusting a chain drive, add:
- A drill with quality metal bits
- A center punch so the bit doesn’t wander
- Replacement hardware rated for outdoor use and the weight of your gate
- A clamp or brace to support the gate while you work
- The patience to work slowly on a gate that wants to close on you
For structural, electrical, or welding work, the honest tool list is:
- A 220V welder with the right rod or wire, plus a helmet, gloves, and real experience laying a structural weld
- A post hole digger or auger that can go 36+ inches, and the physical ability to handle it in clay
- Concrete mixing capability and the knowledge of how much to use and how long to let it cure
- A multimeter and the training to interpret what it’s telling you
- Replacement parts that match the manufacturer spec for your specific operator model
If you have everything on the third list and you know how to use it, you’re not the person this guide is for, and we’d probably enjoy talking shop with you. But most Coppell homeowners who own these tools have them for other reasons and haven’t applied them to a motorized gate before. The skills transfer, but the stakes are different. A bad weld on a trailer is an inconvenience. A bad weld on a gate is a 500-pound slab of steel that falls over at the worst possible moment.
The Hybrid Approach: When Splitting the Job Makes Sense
There’s a third option that doesn’t get talked about much, and it’s one we recommend often. You don’t have to choose between doing everything yourself and hiring out everything. The smartest Coppell homeowners we’ve worked with do their own prep and cleanup and let a professional handle the part that actually requires a professional. You save money on the labor that’s just labor, and you don’t put yourself or your gate at risk on the part that requires a real skill set.
Here’s how a hybrid job with us typically breaks down:
- You do the diagnosis: Walk the gate, note when it started failing, whether the problem is worse in the heat or after rain, and whether the operator makes any unusual sounds. Write it down. Good information from the person who lives with the gate saves us half an hour.
- You source the parts: If you know you want a specific keypad or a particular remote, and you can get it for a good price from a supplier you trust, buy it. We’ll install it correctly and stand behind the installation. Just don’t buy a generic knockoff and expect it to work with a LiftMaster or FAAC operator. Those operators are picky, and for good reason.
- You do the cleanup: Old gate hardware, broken concrete chunks, the packaging from new parts. If you have a way to haul it and you’re willing to do it, that’s labor you’re not paying us for. We’re happy about that, honestly. It keeps the job price down and you get the satisfaction of doing your part.
- We do the structural or electrical work: The post, the weld, the wiring, the operator diagnostics. The part where a mistake costs real money or worse. That’s where a licensed, experienced person earns their keep.
This hybrid approach works especially well in Coppell because so many of the gates here are custom-built or retrofitted. When a gate was fabricated by a local welder in 1998 and has been modified four times since, there’s no manufacturer spec to fall back on. Someone has to look at it and figure out what it needs. If you’ve already identified the failing part and cleared access to it, that person can work faster, and faster means less money out of your pocket.
We’d rather have a homeowner who’s engaged and informed than one who’s checked out. The engaged homeowner helps us get the repair right the first time. The checked-out homeowner gets whatever the salesperson wants to sell them. If you’re reading this guide, you’re the first kind, and that’s the kind of customer we do our best work for.
How to Describe a DIY Attempt to a Contractor Without Embarrassment
Here’s a conversation no one warns you about. You tried to fix the gate yourself. It didn’t work. Now you have to call someone and explain what you did, and there’s a part of you that’s bracing for the contractor to sigh loudly and lecture you about how dangerous that was.
In Coppell, the gate repair community is small enough that reputation matters more than billing. A good contractor hears “I tried this and it didn’t work” as useful information. A bad contractor hears it as leverage. Here’s how to tell which one you’re dealing with, and how to describe the attempt without the embarrassment.
What to say:
- Be specific about what you did. “I tightened the hinge bolts” tells me something. “I tried to fix it” tells me nothing. The more specific you are, the faster the real diagnosis.
- Be honest about the tools you used. If you used a Harbor Freight welder and you’re not sure the bead penetrated, say that. It changes where we start looking.
- Describe what happened after the attempt. Did the gate work better for a day and then fail again? Did it immediately get worse? Did the operator start clicking? The failure pattern after a DIY attempt is diagnostic gold.
- Bring the old parts if you have them. A bent hinge plate or a cracked bracket tells a story that words can’t.
What a good contractor does with the information:
A good contractor says “okay, let me see what we’re working with.” He gets on the ground and looks at the failed repair. He asks what happened after. He works through the actual damage without making a production out of it. He quotes you a fair price for the real fix, and he doesn’t add a surcharge for the fact that you tried first. If you call Gate Repair in Coppell and talk to us, this is how it goes. We’ve all done DIY repairs that went sideways. Anyone who acts otherwise is lying or has a short memory.
What a bad contractor does:
A bad contractor shakes his head, talks about how “someone really made a mess here,” and then quotes a price that’s 40% higher than the market rate, because he figures you’re embarrassed enough to pay anything. He’s not charging more because the work is harder. He’s charging more because he thinks you won’t push back. In Coppell, where word gets around fast, these guys don’t last long. But they do exist, and they prey on the exact situation you’re in. Get a second opinion if the price feels wrong. We offer a free second opinion on any written estimate, because we’d rather you know what’s fair than pay a tax on being honest.
The bottom line: don’t be embarrassed. Every experienced homeowner has a drawer full of projects that didn’t go as planned. What matters is that you recognized the point where the project was beyond you and made the call. That’s not failure. That’s judgment.
Common Mistakes to Avoid
- Tightening a lag bolt into rotted wood: The bolt turns and turns and feels like it’s tightening, but it’s just chewing a bigger hole. In Coppell’s humidity, wooden gate frames rot from the inside out, and you can’t tell from the outside until the bolt doesn’t grab. If the hole is soft, the fix isn’t a bigger screw. It’s a new section of frame.
- Resetting a post without checking the footing depth: You dig down two feet, you set the post, you pour the sack of Quikrete, and the gate stands straight for a month. Then the clay expands and the post leans. In Coppell, the blackland clay needs a deeper hole and better drainage than most online tutorials account for. A 36-inch hole with gravel at the bottom is the minimum for a real gate post here.
- Using WD-40 as a lubricant: WD-40 is a water displacer, not a lubricant. It will quiet a squeak for about a week, then the squeak comes back louder because the actual lubricant got washed out. Use white lithium grease on hinges and a dry silicone spray on rollers.
- Adjusting operator force settings without understanding them: The close-force setting exists to keep the gate from crushing something. Crank it up to make the gate close faster and you’ve created an entrapment hazard. If the gate is struggling to close, the force setting isn’t the problem. The problem is physical resistance somewhere, and masking it with more force just breaks other parts faster.
- Ignoring the gate’s weather exposure in Coppell: We get everything here: hundred-degree summers, hard freezes, spring hailstorms, summer drought. A gate that’s plumb in March may not be plumb in August. Check your gate’s alignment seasonally. Catch the lean before it becomes a failure.
- Replacing the operator when the problem is the gate: The gate drags, the operator works harder, the circuit board eventually gives out. So the homeowner replaces the operator. Then the new operator drags the same bad gate and fails in a year. Fix the gate first, and the operator often turns out to be fine.
- Buying a universal remote and expecting it to work: Not all universals are actually universal, especially with newer LiftMaster and BFT models that use rolling code security. A $25 universal remote that doesn’t work with your operator isn’t a bargain. It’s $25 toward the real remote you should have bought.
When to Call a Professional
Call a professional when the gate is over 200 pounds and the problem involves the post, the hinges, the weld, or the wiring. Call when the operator is dead and the breaker is fine. Call when the gate closes on its own without the operator pushing it, because that’s a structural failure, not an electrical one. Call when you’ve done the DIY-safe tasks and the problem persists. Call when you’ve already tried a fix and it failed, because the second attempt is where the real damage happens. If you’re in Coppell and the gate won’t open or won’t close and you need it working today, call us. Gatewood Fence & Gate home is based right here in town. We answer the phone around the clock, we show up when we say we will, and we quote a price before we touch anything. The number is (903) 829-4499.
Frequently Asked Questions
Most gate repairs in Coppell range from $120 for a sensor cleaning and alignment to $1,200 and up for a full post replacement with concrete work. For a detailed breakdown of what drives these numbers, see our Gate Repair Cost Breakdown: The Coppell Homeowner’s Reference for 2026. Operator repairs typically fall between $250 and $800 depending on the part and the brand. We quote every job upfront, before any work starts, and we honor that price. If you’re getting quotes that are all over the map, call us at (903) 829-4499 and we’ll help you make sense of them.
You can replace the remote batteries and the keypad batteries yourself, but any repair inside the operator housing involves line voltage and stored electrical charge. That’s professional territory. A capacitor in a gate operator takes time to discharge even after the power is off. If your operator is dead, blinking, or making a clicking sound, call a licensed professional.
A well-built steel gate with proper posts will last 20 to 30 years in Coppell, though hardware like hinges and rollers typically needs replacement every 7 to 10 years. Wooden gates have a shorter lifespan here, usually 10 to 15 years, because the humidity and heat accelerate rot even in pressure-treated lumber. Operators last 8 to 15 years depending on brand and how hard they have to work against the gate.
A failing gate post shows up as a gap that grows between the gate and the post at the top or bottom, or a gate that scrapes the ground on one end, or a latch that doesn’t line up anymore. In Coppell’s clay soil, you may also see a visible crack in the concrete around the post base. If you see any of these signs, don’t wait. A leaning post puts stress on every other part of the gate and can fail catastrophically.
Yes. We’re certified to service nine major gate brands including Mighty Mule, LiftMaster, FAAC, and BFT. We service Gate Motor & Opener in Coppell units daily, from operator diagnostics and repair to full replacement when the old unit has earned retirement. Bring us the model number and we’ll know what we’re dealing with before we arrive.
Most of the time, repair is the better financial choice. A gate that’s structurally sound but has bad hardware, a tired operator, or minor weld cracks is worth fixing, and we’d rather repair than replace any day. That’s our whole philosophy. We only recommend replacement when the gate itself is rusted through, badly bent, or the cost of repair exceeds 60% of the cost of a new gate. Curious about a full replacement? Check out Gate Installation in Coppell for the details. For a straight answer on your specific gate, call us at (903) 829-4499.
The Bottom Line
Most Coppell homeowners can safely handle sensor cleaning, hinge lubrication, bolt tightening, and battery replacement, and doing those four things twice a year will add years to your gate’s life. For more guides & resources on keeping your gate in top shape, explore our blog. What you shouldn’t do yourself is anything involving the post, the welds, the operator wiring, or gate weight that exceeds 200 pounds, because those are the failures that compound. If you’ve already tried a fix and it didn’t hold, be honest with the contractor you call, watch how they respond, and get a second opinion if the quote feels inflated. The right repair from the right person is almost always cheaper than a failed DIY attempt, especially when you count the redo.
We’ve been at this since 2001, working out of our shop here in Coppell, with our name on the door and our phone number in the hands of every customer we’ve served. If your gate’s been acting up, call us at (903) 829-4499 for a free estimate. We’ll tell you straight what it needs, what it doesn’t, and what it should cost. The name is on the shop, and the shop is down the road. That’s the oldest accountability there is.
Written by Hal Gatewood, Owner at Gatewood Fence & Gate, serving Coppell since 2001.